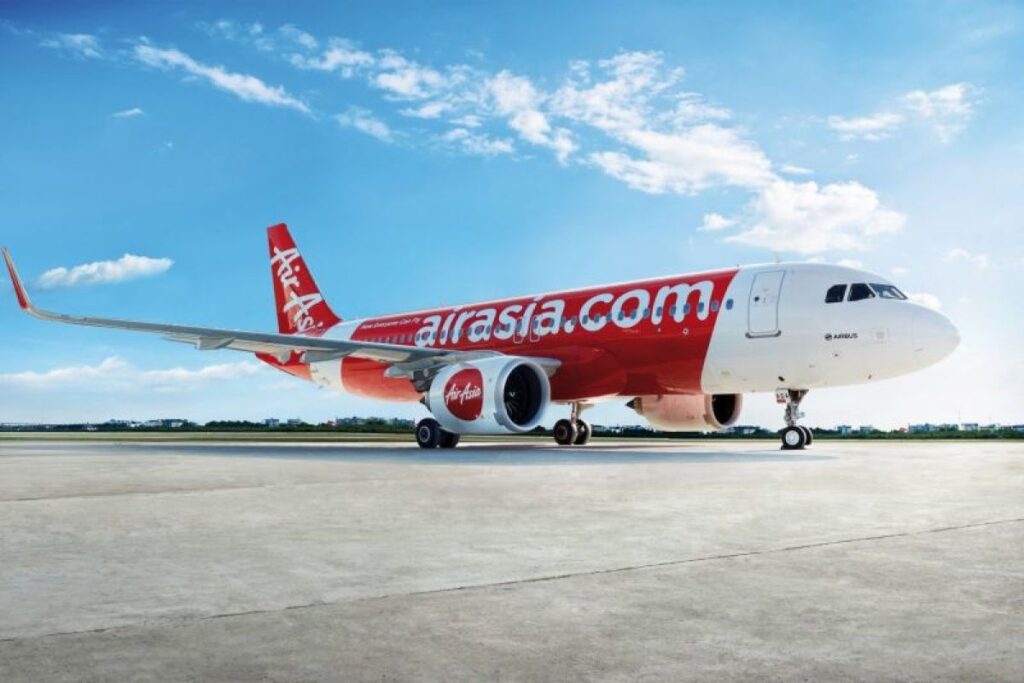
Gunung Semeru. Keputusan AirAsia untuk membatalkan penerbangan ke Kota Kinabalu akibat erupsi Gunung Semeru merupakan langkah yang tepat demi keselamatan penumpang dan awak pesawat.
Erupsi Gunung Semeru yang terjadi pada hari Kamis, 2 Desember 2021 menyebabkan abu vulkanik terbang hingga ketinggian yang cukup tinggi dan menimbulkan ancaman bagi penerbangan udara. Kondisi ini membuat AirAsia memutuskan untuk membatalkan penerbangan ke Kota Kinabalu untuk sementara waktu demi keselamatan penumpang dan awak pesawat.
Keputusan ini tentu menjadi kabar yang disayangkan bagi para penumpang yang sudah memesan tiket penerbangan ke Kota Kinabalu. Namun, keselamatan merupakan prioritas utama dalam setiap perjalanan udara, dan AirAsia sebagai maskapai penerbangan yang bertanggung jawab harus memastikan bahwa kondisi udara aman untuk dilalui.
Erupsi Gunung Semeru juga memberikan pelajaran penting bagi kita semua tentang pentingnya kewaspadaan terhadap bencana alam. Kita harus selalu siap menghadapi bencana dan mematuhi petunjuk dari otoritas terkait demi keselamatan bersama.
Meskipun penerbangan ke Kota Kinabalu saat ini dibatalkan, diharapkan para penumpang dapat memahami situasi ini dan bersabar menunggu perkembangan selanjutnya. AirAsia akan terus memantau perkembangan situasi dan memberikan informasi terbaru kepada para penumpang terkait jadwal penerbangan selanjutnya.
Semoga erupsi Gunung Semeru segera mereda dan situasi dapat kembali normal. Mari kita tetap waspada dan saling mendukung dalam menghadapi bencana alam. Terima kasih.